Film Split Screen Matte Templates for Video Editing
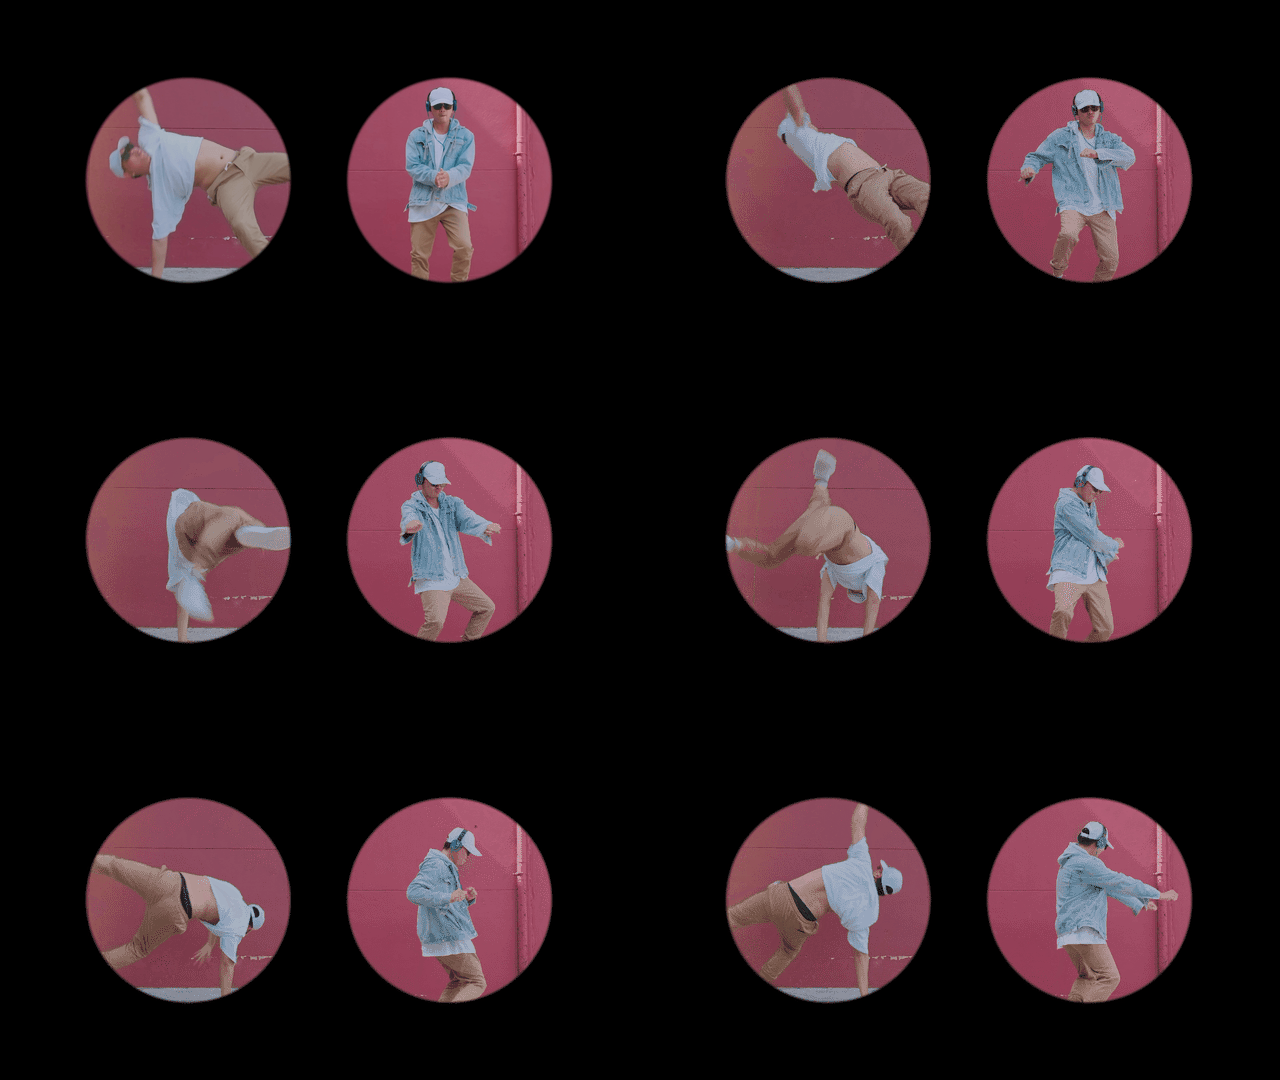
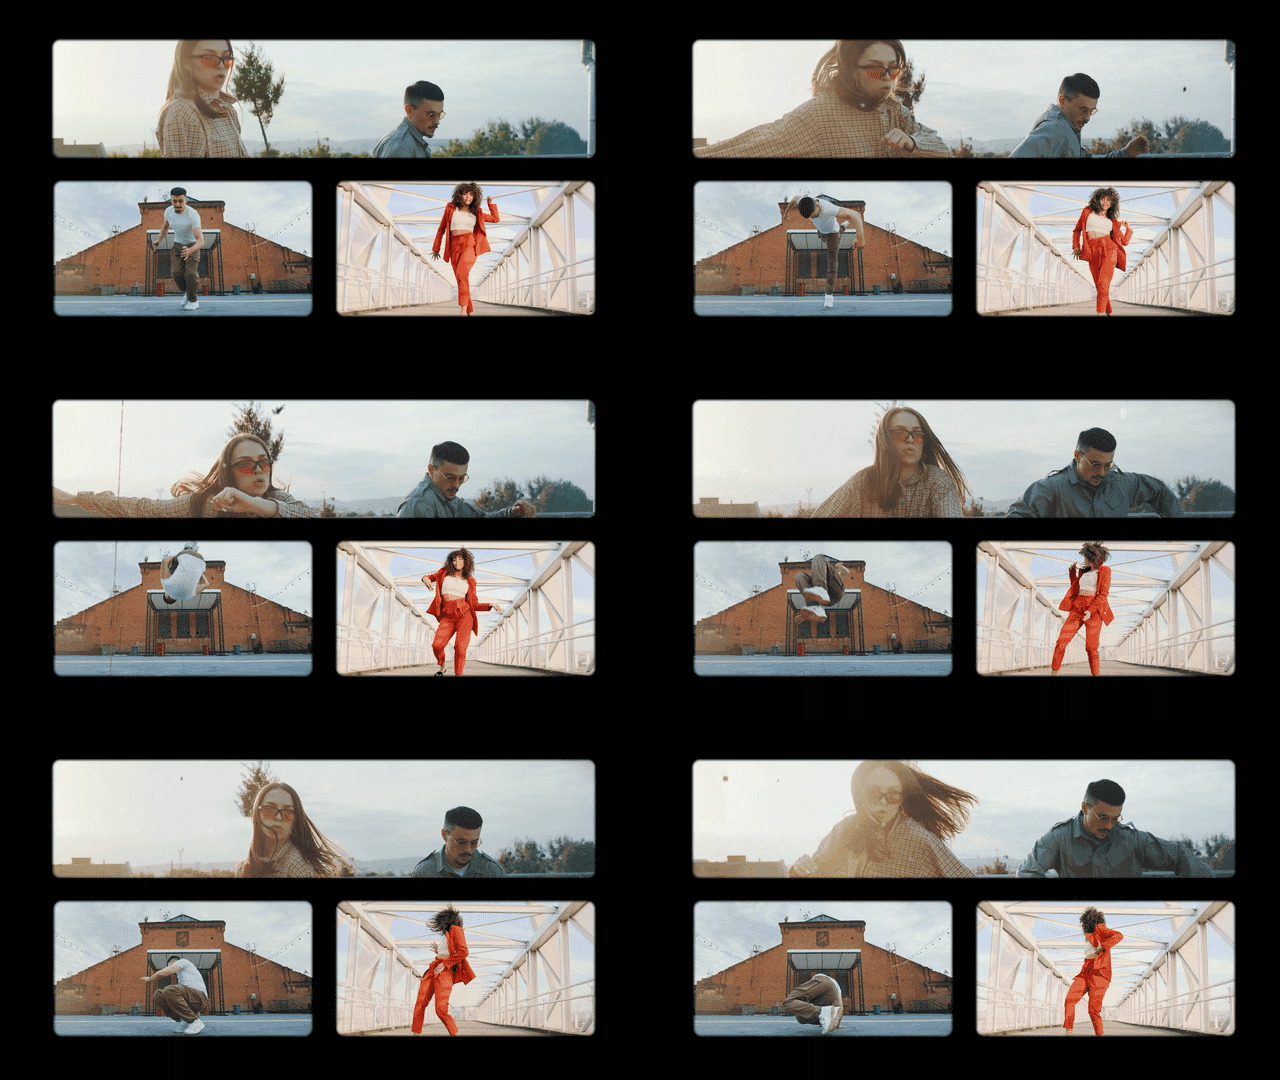
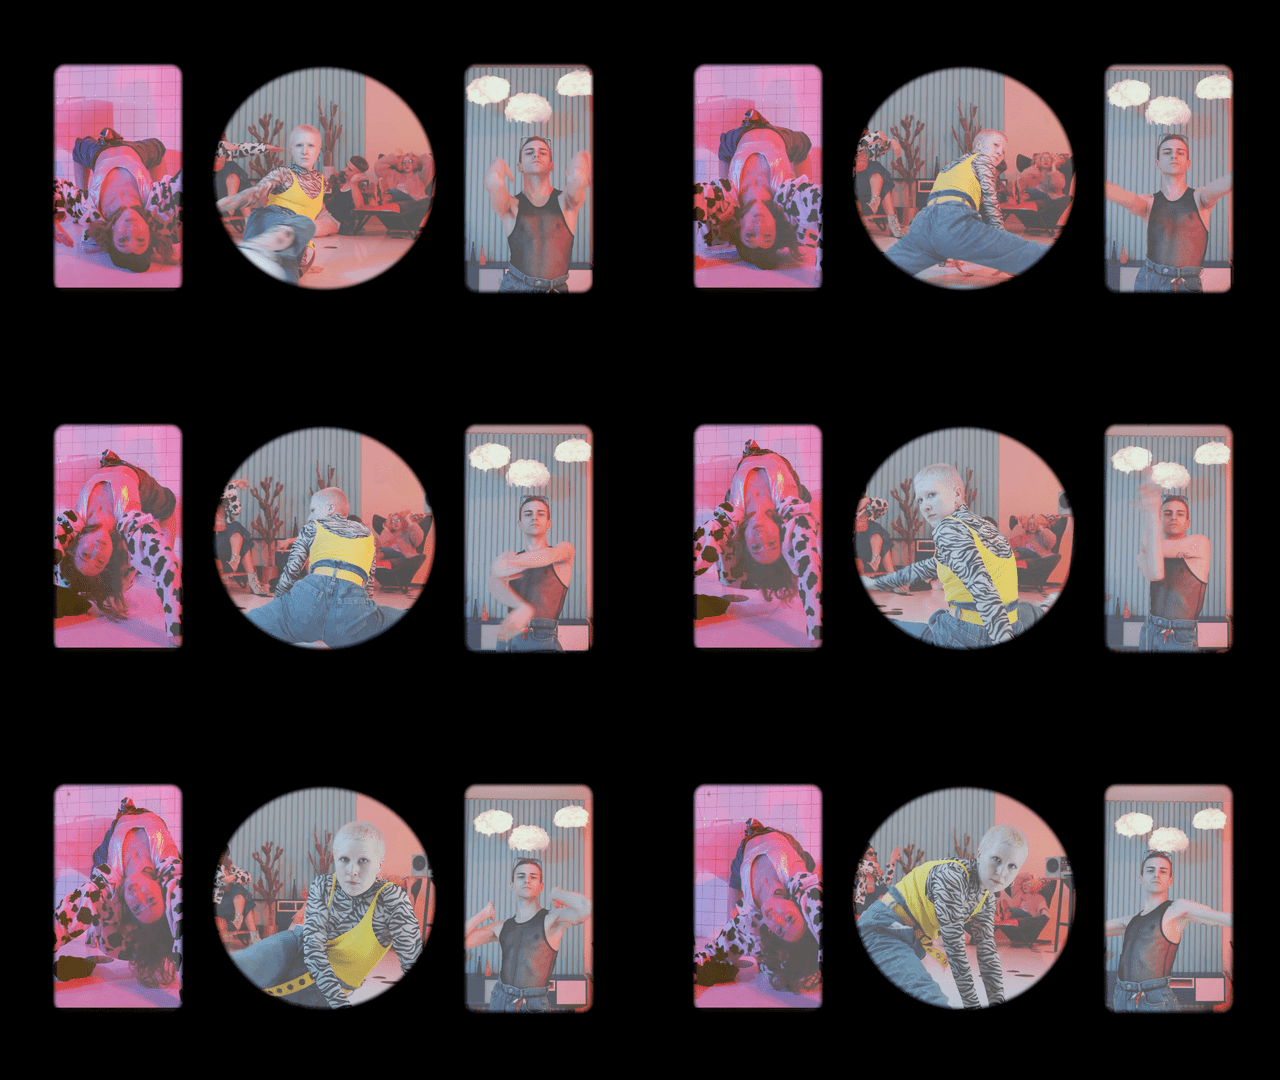
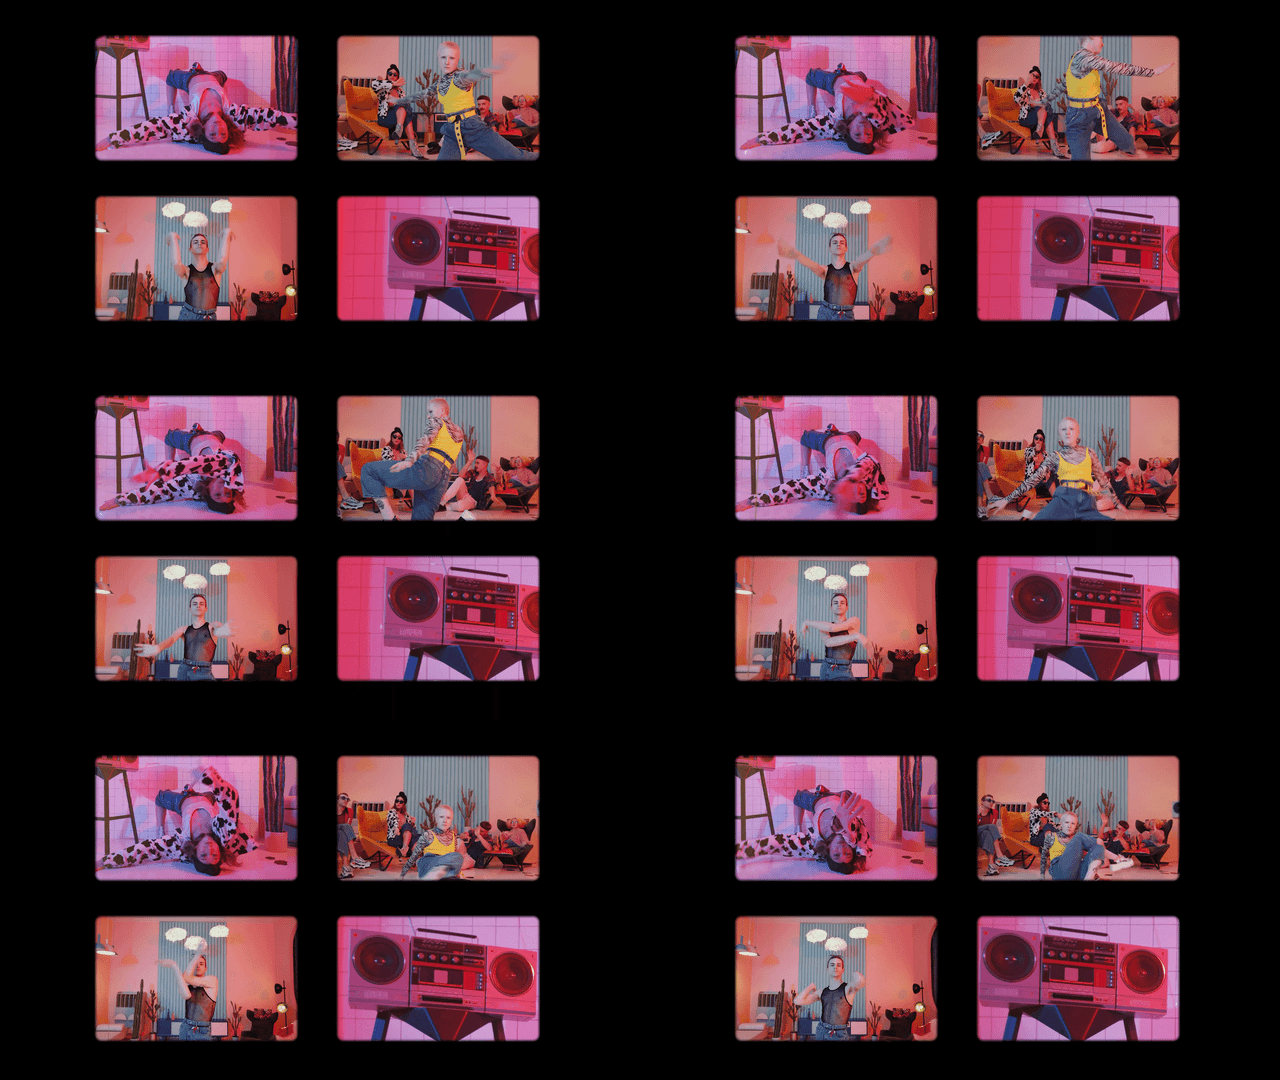
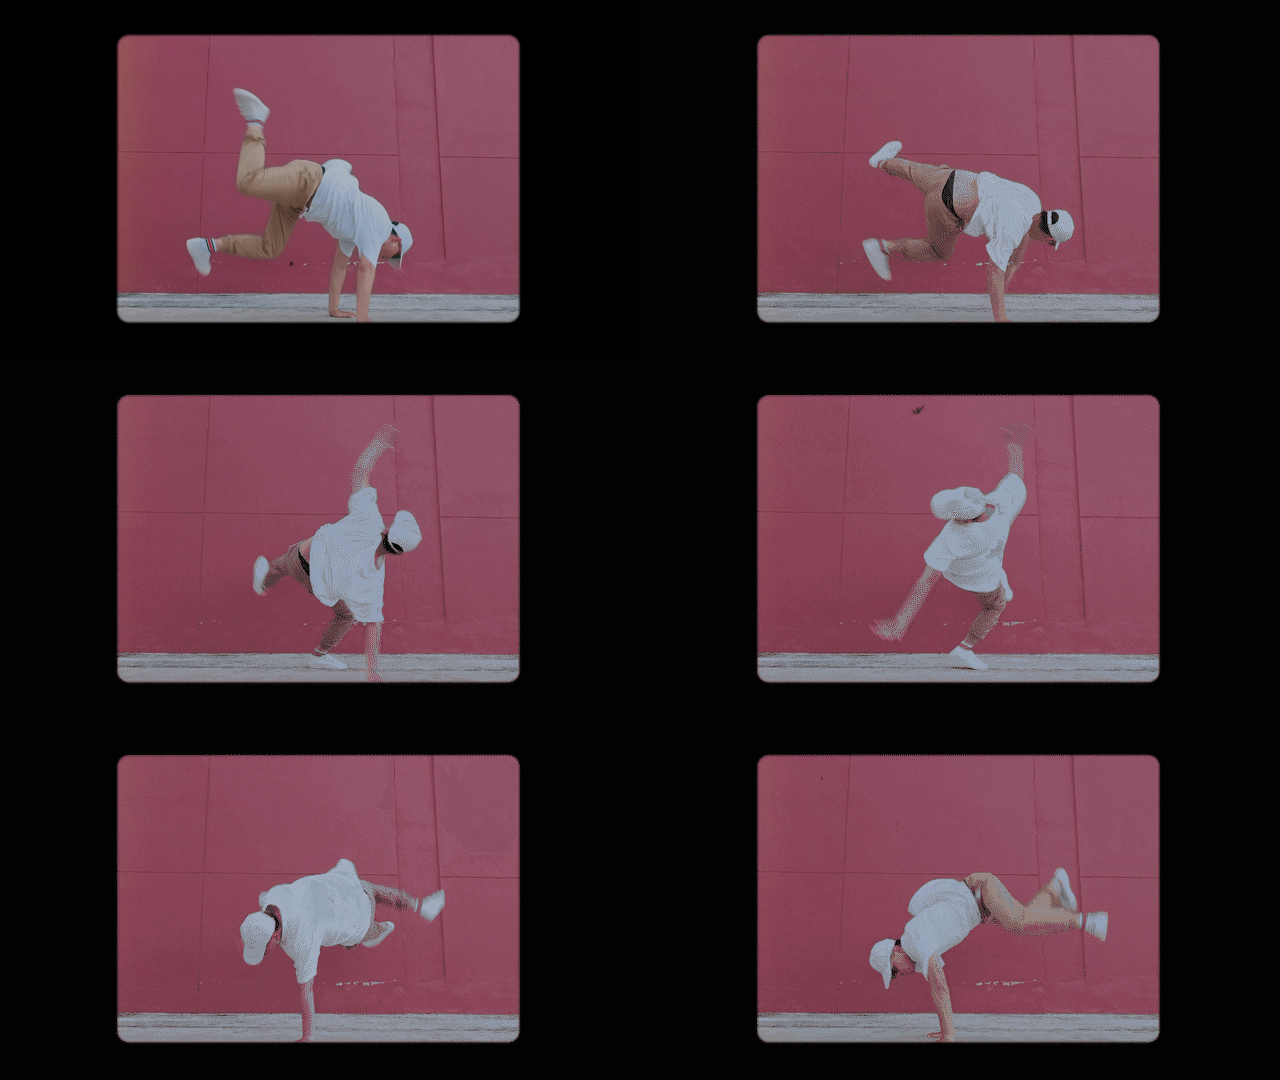
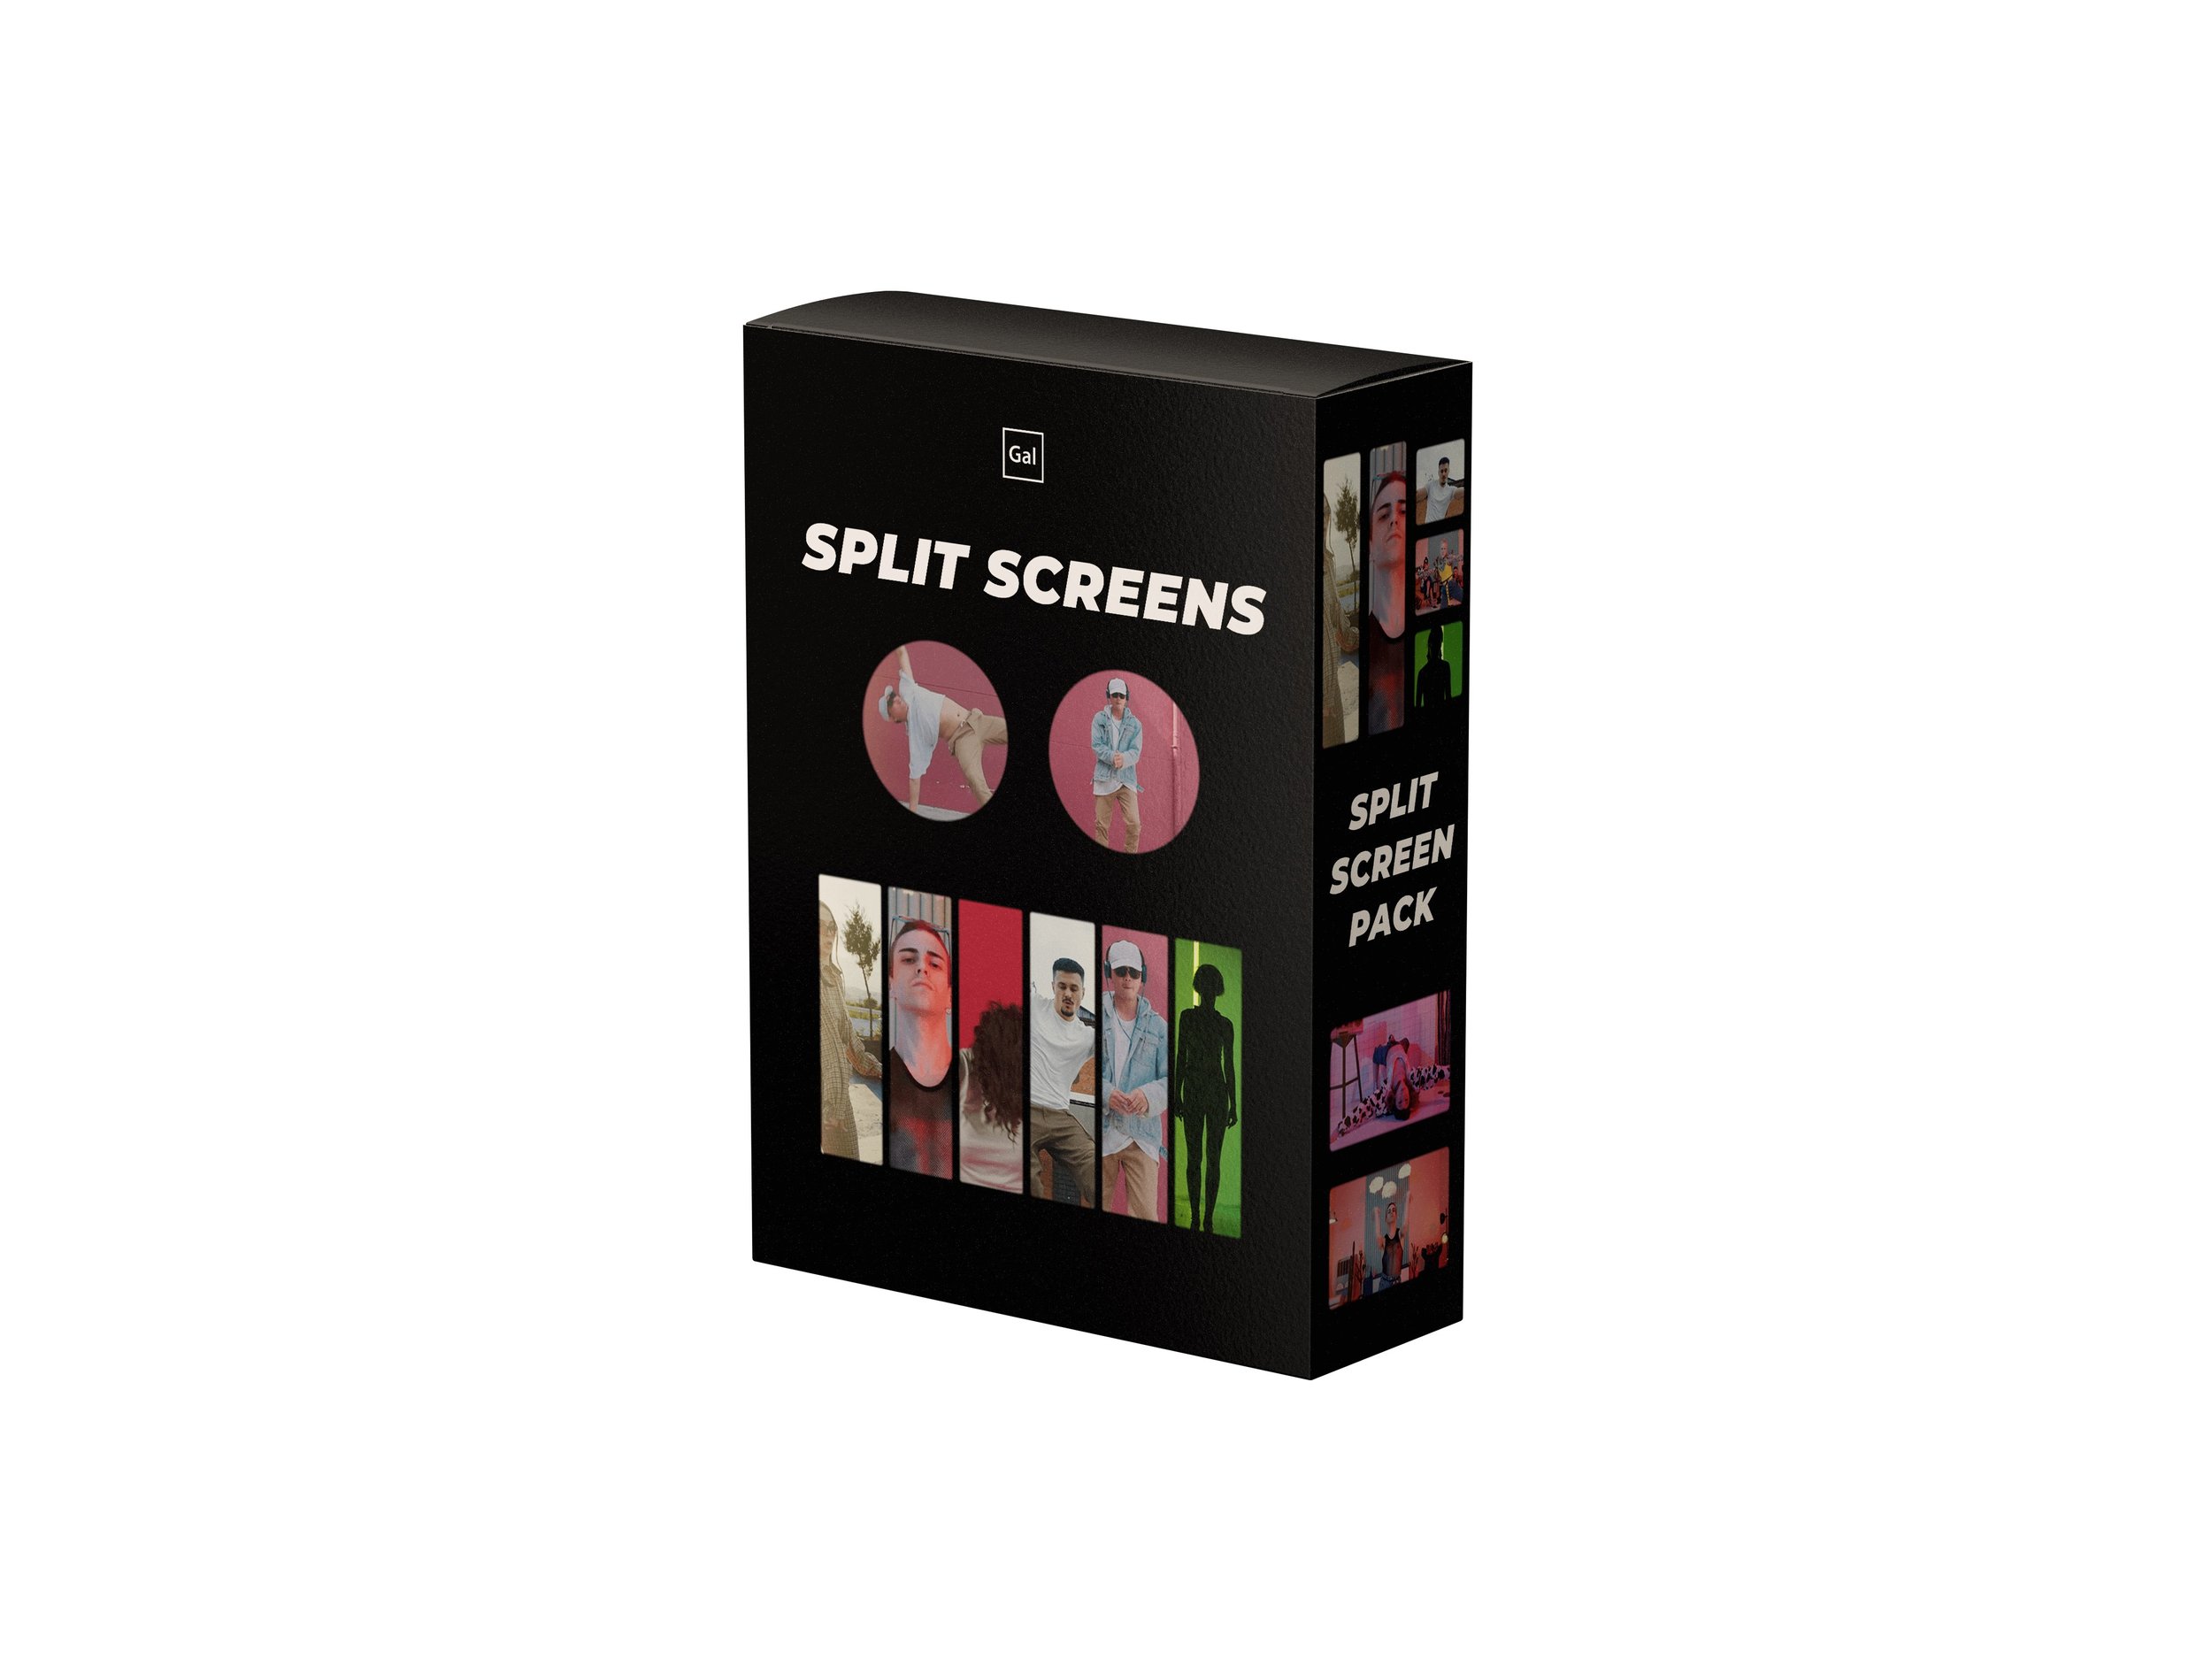
Do you want to add cool film-inspired frames and split screens to your music videos or commercial video edits? Premiere Gal’s Film Split Screen Matte Template is perfect for you. It includes 17 different split screen variations that are compatible for use in Premiere Pro, After Effects, Final Cut Pro, Avid, and DaVinci Resolve.
It is currently on sale! And, what’s more is that if you purchase this template not only you’ll get to have this forever and as long as I update the template, you’ll get it updated as well! If you add new split screens into the template, you’ll get new variations as well!
So how does it work?
This pack includes 17 creative film split screen variations that will work perfectly for your music videos, title credits, and commercial video edits. Buy once and you can use forever for any type of video, commercial and personal.
The templates are neatly packaged into the following:
Motion Graphics Template (.mogrt) for Premiere Pro’s Essential Graphics Panel
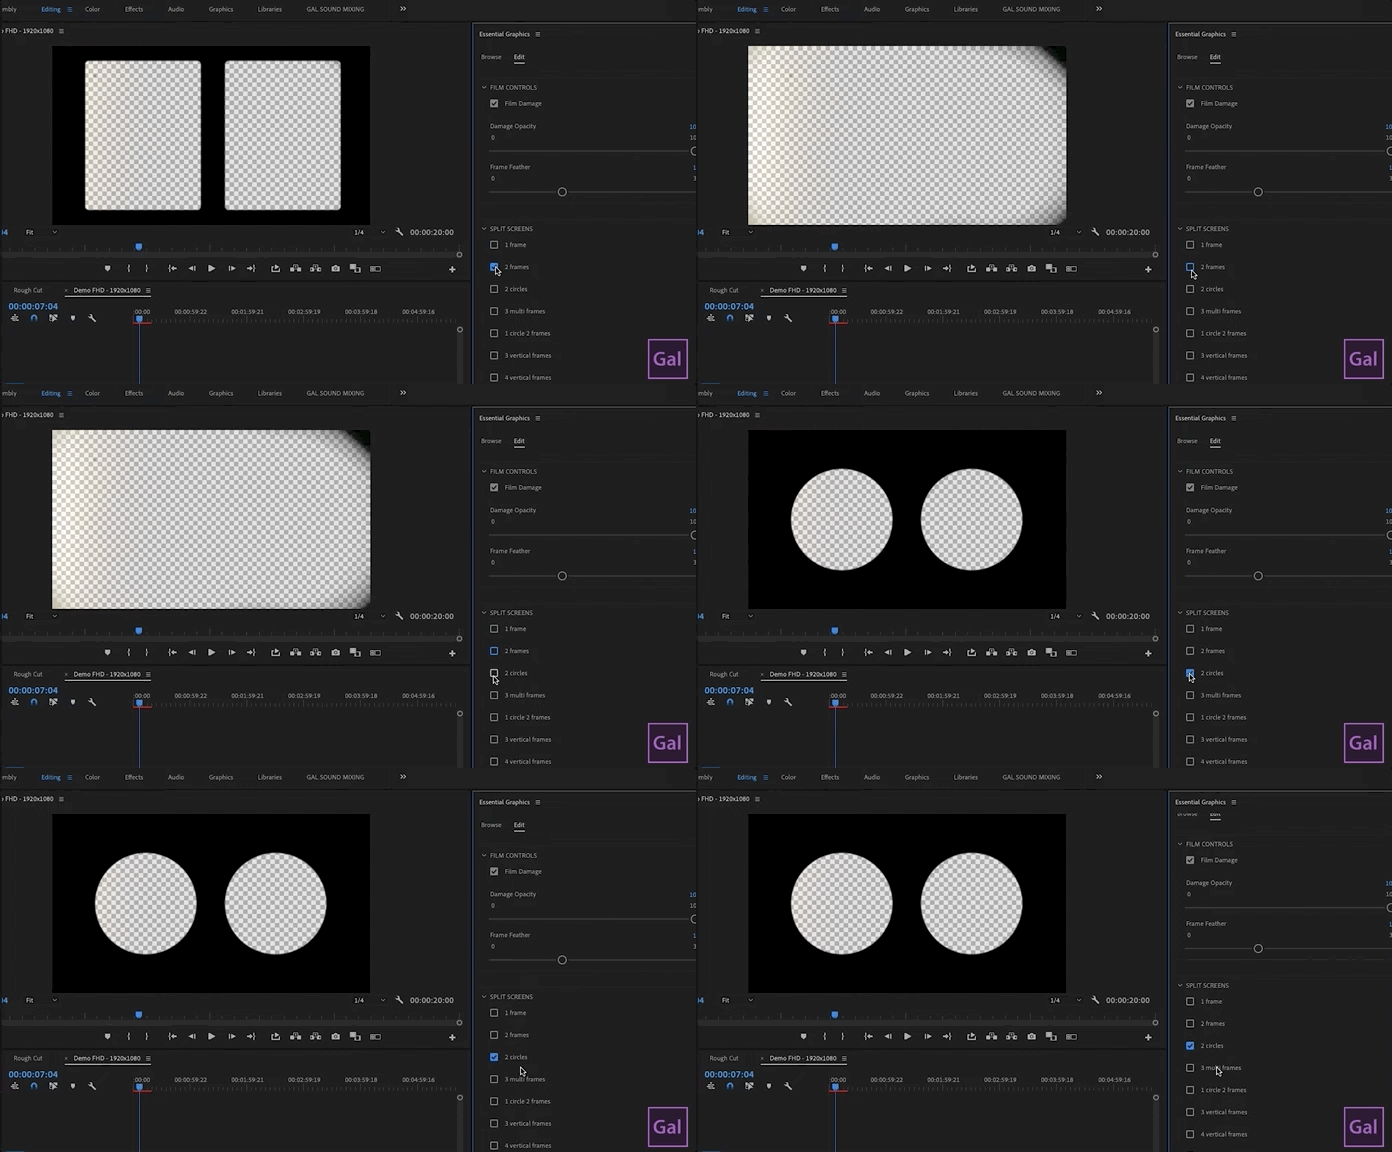
Customize Film Grain and Frame Feathering with the Essential Graphics Panel
PNG files for any video editing software! Import and place in your timeline.
Compatibility:
The .mogrt version of the pack can be used in Adobe Premiere Pro 2020, Version 14 and above.
The .PNG files can be used in any version of Premiere, and in any editing software, like Davinci Resolve, FCPX, Filmora, etc.
CLICK TO WATCH HOW TO IMPORT THE .MOGRT FILE
Split Screen Variations included:
1 Frame
2 Circles
2 Vertical Frames
1 Circle and 2 Frames
3 Multiframes
3 Vertical Frames
4 Horizontal Frames
4 Vertical Frames
5 Multi Frames V1
5 Multi Frames V2
6 Vertical Frames
7 Multi Frames
8 Square Frames
9 Multi Frames
10 Multi Frames
12 Vertical Frames
15 Square Frames
Two Types: PNG and MOGRT
There are two file types in the pack – mogrt (motion graphics template) files (specifically for Premiere Pro) & png. files (for all other software). The full PNG tutorial is here. The PNG method is actually much simpler than using the mogrt version (except there’s no film grain control add into your footage). Below you’ll learn how to add .mogrt versions of the pack to your footage.
Unzip the file!
Congratulations, you’ve bought this template for your next video! Now you may open the download. First, unzip the file so you can retrieve all the files within the .zip.
How to import the .mogrt
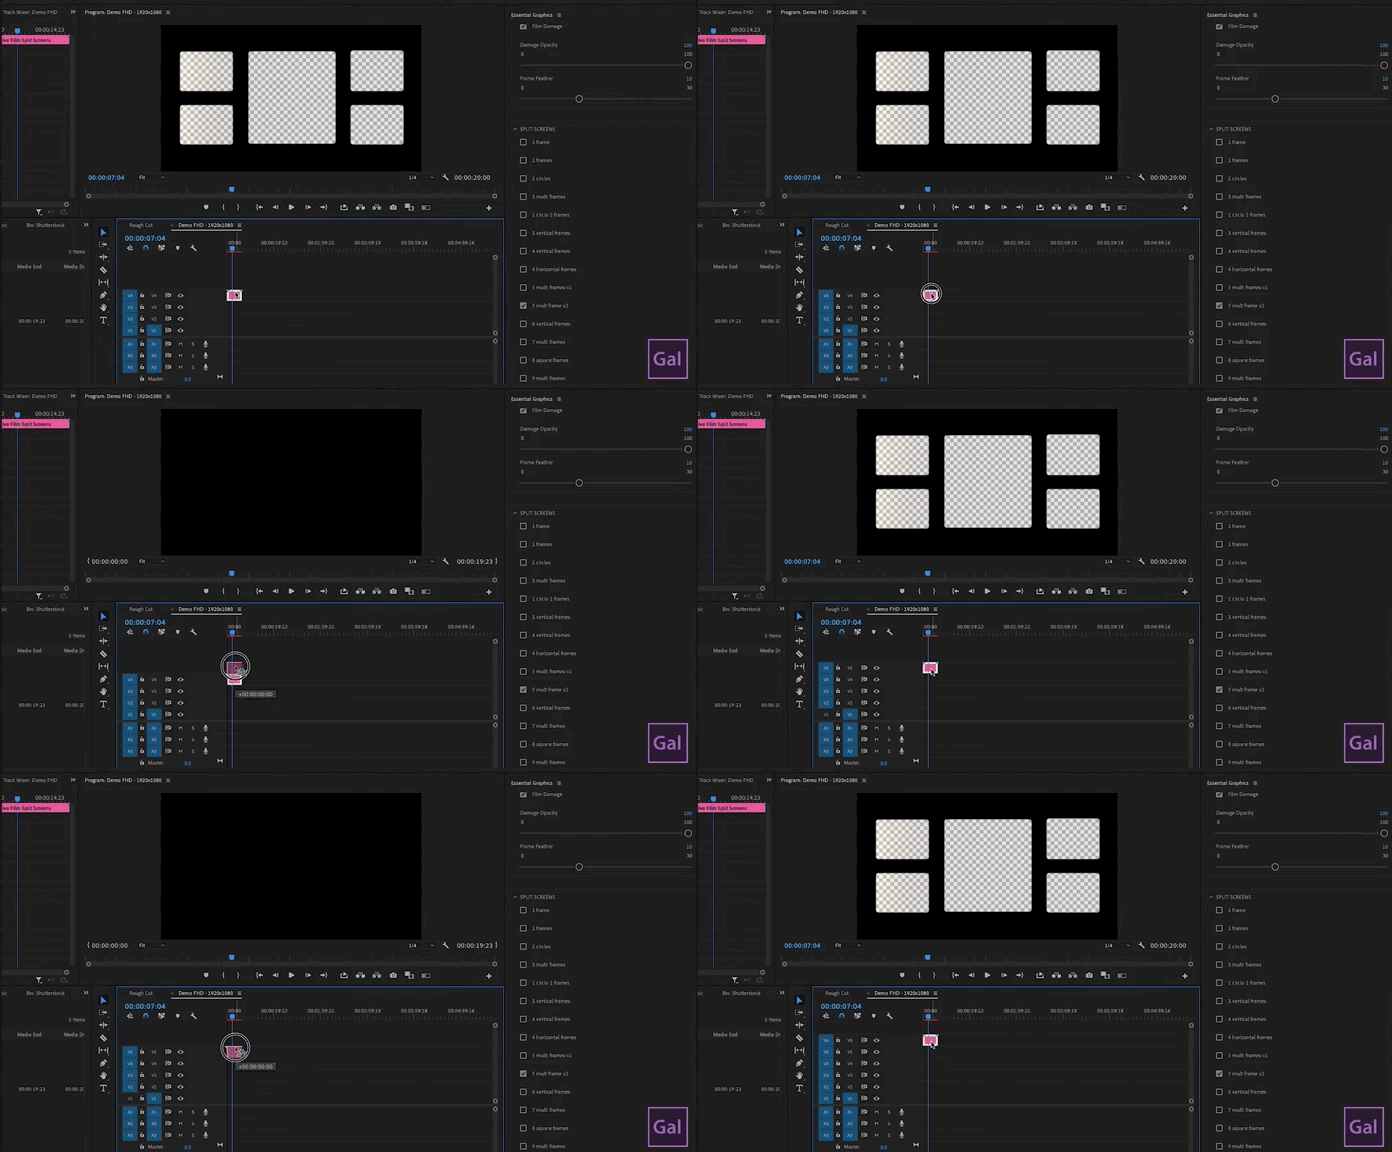
First, open Premiere Pro, then go to Window > Essential Graphics. Import the mogrt into the Essential Graphic Panel by clicking “+” button at the lower right corner of the Essential Graphics panel After the template is loaded into your Essential Graphics panel, pick the split screen template you want. In today’s video, we are using the 5 Split Screens Template!
From the Program window, click the wrench button and select “Transparency On” so you can see the split screen clearly. Since we are using a 5 split screens template, we need to create layers for footages to fit in different screens/windows properly. In this case, drag the template layer 5 layers up, leaving it on the 6th layers (V6)
Adding Your Footage
Now we’ve set up the template, we can drop the footage in to the timeline. The first video on V1 and so forth. But when you apply the first footage (v1) onto the split screen, it’ll fill up the entire frame. This is when you can go to the Effects panel, and search “Crop” and drag the crop effect onto your footage. Then go to your Effect Controls panel to modify the crop parameters so the footage will not bleed into other screens. You also can apply film grains to give it a retro look. Then repeat this process for your other video clips until it’s done!
TIP: If you don’t like that many layers of videos on your timeline, you can nest them into one layer (imagine “Nesting” the videos is the same concept as building Smart Objects on your timeline). If you want to know how to “Nest” the clips together, Click Here.
Viola! You are done!
And that's all there is to using the Film Split Screen Pack. We hope it helps you achieve the style you are looking for in your next edit If you have any questions feel free to use the comment section below or tweet @Premiere_Gal on Twitter. And if you'd like to learn some more awesome effects and editing tricks, be sure to subscribe to Premiere Gal's YouTube channel.

